

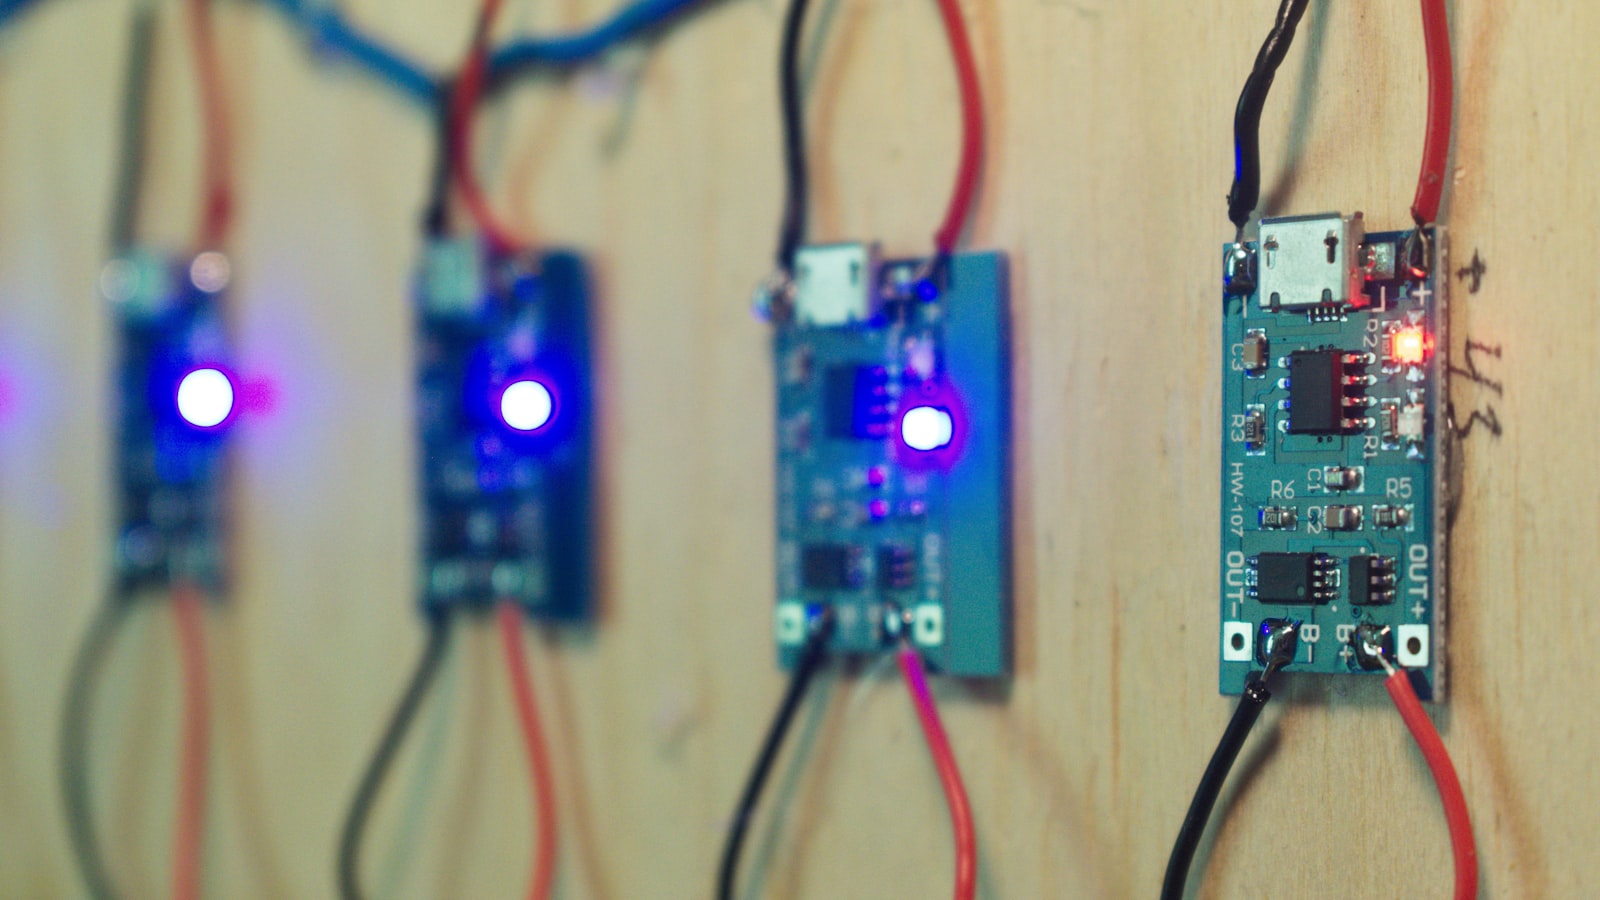
What is a PCB Prototype?
A PCB prototype is a preliminary version of a printed circuit board that is used for testing and validation purposes. It is created to ensure that the circuit design functions as intended and meets all the required specifications. PCB prototypes are typically made in small quantities, often just one or a few boards, to minimize costs and allow for quick iterations if changes are needed.
Why Create a PCB Prototype?
There are several reasons why creating a PCB prototype is important:
-
Testing and Validation: A PCB prototype allows you to test your circuit design in real-world conditions. You can verify that the circuit functions as expected, check for any errors or issues, and make necessary adjustments before proceeding to mass production.
-
Cost Savings: Creating a PCB prototype helps identify any design flaws or manufacturing issues early in the development process. This can save significant costs compared to discovering problems after mass production has begun.
-
Proof of Concept: A PCB prototype serves as a tangible proof of concept for your circuit design. It demonstrates that your idea can be physically realized and helps in communicating your design to stakeholders or potential customers.
-
Iterative Design: pcb prototyping allows for an iterative design process. You can make changes and improvements to your circuit based on the feedback and results obtained from testing the prototype.

Steps to Create a PCB Prototype
Step 1: Design the Circuit
The first step in creating a PCB prototype is to design your circuit. This involves the following sub-steps:
-
Schematic Design: Create a schematic diagram of your circuit using EDA (Electronic Design Automation) software. The schematic captures the electrical connections and components of your circuit.
-
Component Selection: Choose the appropriate components for your circuit based on their specifications, such as voltage ratings, current ratings, and package sizes. Consider factors like cost, availability, and reliability when selecting components.
-
Footprint Creation: Create footprints for each component in your circuit. A footprint defines the physical dimensions and layout of a component on the PCB. It includes the pad sizes, shapes, and spacing.
-
PCB Layout: Design the PCB layout using EDA software. Place the components on the board and route the traces to establish electrical connections. Consider factors like signal integrity, power distribution, and manufacturability when designing the layout.
-
Design Rule Check (DRC): Perform a DRC to ensure that your PCB layout adheres to the manufacturing constraints and design rules specified by the PCB fabrication house. This helps prevent issues during manufacturing.
Step 2: Generate Manufacturing Files
Once your PCB design is complete, you need to generate the necessary manufacturing files. These files are used by the PCB fabrication house to manufacture your PCB prototype. The common manufacturing files include:
-
Gerber Files: Gerber files are the industry standard for PCB fabrication. They contain information about the copper layers, solder mask, silkscreen, and drill holes of your PCB.
-
Drill Files: Drill files specify the locations and sizes of the drill holes on your PCB. They are used by the fabrication house to drill the holes for through-hole components and vias.
-
Bill of Materials (BOM): The BOM is a list of all the components used in your PCB, including their quantities, part numbers, and specifications. It is used for component procurement and assembly.
-
Assembly Drawing: An assembly drawing provides instructions for assembling the components on the PCB. It includes the component placement, orientation, and any special assembly requirements.
Step 3: Choose a PCB Fabrication Service
There are numerous PCB fabrication services available, both online and offline. When choosing a fabrication service for your PCB prototype, consider the following factors:
-
Capabilities: Ensure that the fabrication service can handle the specific requirements of your PCB, such as the number of layers, material type, and minimum feature sizes.
-
Turnaround Time: Consider the turnaround time offered by the fabrication service. Some services offer expedited manufacturing for faster delivery of your PCB prototype.
-
Cost: Compare the costs of different fabrication services. Keep in mind that the cost may vary based on factors like the PCB size, quantity, and manufacturing options selected.
-
Quality and Reputation: Research the reputation and quality of the fabrication service. Look for customer reviews, certifications, and any guarantees provided by the service.
Step 4: Place the Order
Once you have chosen a PCB fabrication service, place your order by providing the necessary manufacturing files and specifying any additional requirements. Double-check all the files and information before submitting your order to avoid any delays or errors.
Step 5: PCB Assembly
After receiving your PCB prototype from the fabrication house, the next step is to assemble the components onto the board. There are two main methods for PCB assembly:
-
Hand Assembly: For low-quantity prototypes or simple designs, hand assembly can be a viable option. This involves manually soldering the components onto the PCB using soldering tools and techniques.
-
Machine Assembly: For more complex designs or higher quantities, machine assembly is preferred. This involves using automated pick-and-place machines and reflow ovens to place and solder the components onto the PCB.
If you choose to assemble the PCB yourself, ensure that you have the necessary tools, skills, and a suitable workspace. Follow proper soldering techniques and static discharge precautions to avoid damaging the components or the PCB.
Step 6: Testing and Validation
Once your PCB prototype is assembled, it’s time to test and validate its functionality. This involves the following steps:
-
Visual Inspection: Perform a visual inspection of the assembled pcb to check for any obvious defects, such as misaligned components, solder bridges, or missing components.
-
Continuity Testing: Use a multimeter to test the continuity of the electrical connections on the PCB. Check for any open or short circuits.
-
Power-On Testing: Apply power to the PCB and verify that it powers up correctly without any issues, such as overheating or unexpected behavior.
-
Functional Testing: Test the specific functionality of your circuit by applying input signals and measuring the output response. Verify that the circuit performs as intended and meets the required specifications.
-
Debugging: If any issues or errors are identified during testing, debug the PCB to identify the root cause. This may involve using diagnostic tools, such as oscilloscopes or logic analyzers, to trace signals and isolate problems.
Tips for Successful PCB Prototyping
Here are some tips to help you create a successful PCB prototype:
-
Plan your design carefully: Spend sufficient time planning and designing your circuit before starting the PCB layout. A well-planned design can save time and effort in the later stages.
-
Use a modular approach: Break down your circuit into smaller, modular sections. This makes it easier to test and debug individual parts of the circuit and allows for incremental development.
-
Follow design guidelines: Adhere to the design guidelines and constraints provided by the PCB fabrication service. This includes minimum trace widths, clearances, and drill sizes.
-
Use standard component packages: Whenever possible, use standard component packages that are readily available and easy to assemble. This helps in sourcing components and reduces the risk of assembly issues.
-
Incorporate test points: Include test points in your PCB design to facilitate testing and debugging. Test points provide convenient access to critical signals for probing and measurement.
-
Document your design: Maintain proper documentation of your PCB design, including schematics, layout files, and assembly instructions. This helps in future reference and troubleshooting.
-
Seek feedback and review: Share your PCB design with experienced designers or colleagues for feedback and review. Fresh perspectives can help identify potential issues or suggest improvements.
Frequently Asked Questions (FAQ)
-
What software is used for PCB design?
There are several EDA software options available for PCB design, such as Altium Designer, KiCad, Eagle, and OrCAD. These software tools provide schematic capture, PCB layout, and manufacturing file generation capabilities. -
How long does it take to get a PCB prototype?
The turnaround time for a PCB prototype depends on the fabrication service you choose and the complexity of your design. Some services offer quick-turn prototyping with turnaround times as short as 24 hours, while others may take several days or weeks. -
What is the typical cost of a PCB prototype?
The cost of a PCB prototype varies based on factors like the PCB size, number of layers, quantity, and manufacturing options. Prototype costs can range from a few dollars for simple designs to several hundred dollars for complex, multi-layer boards. -
Can I assemble the PCB prototype myself?
Yes, you can assemble the PCB prototype yourself if you have the necessary skills, tools, and workspace. However, for complex designs or higher quantities, it is often more efficient and reliable to use professional assembly services. -
What should I do if my PCB prototype doesn’t work as expected?
If your PCB prototype doesn’t function as expected, start by visually inspecting the board for any obvious defects or assembly issues. Perform continuity testing to check for open or short circuits. Use diagnostic tools to trace signals and identify the root cause of the problem. If needed, consult with experienced designers or seek technical support from the fabrication service.
Conclusion
Creating a PCB prototype is a crucial step in the electronics design process. It allows you to test and validate your circuit design before proceeding to mass production. By following the steps outlined in this article, you can successfully design, manufacture, and assemble your PCB prototype.
Remember to plan your design carefully, adhere to design guidelines, and choose a reliable PCB fabrication service. Testing and validation are essential to ensure that your prototype meets the required specifications and functions as intended.
With a well-executed PCB prototype, you can confidently move forward with your electronics project, whether it’s a personal hobby or a commercial product. Happy prototyping!